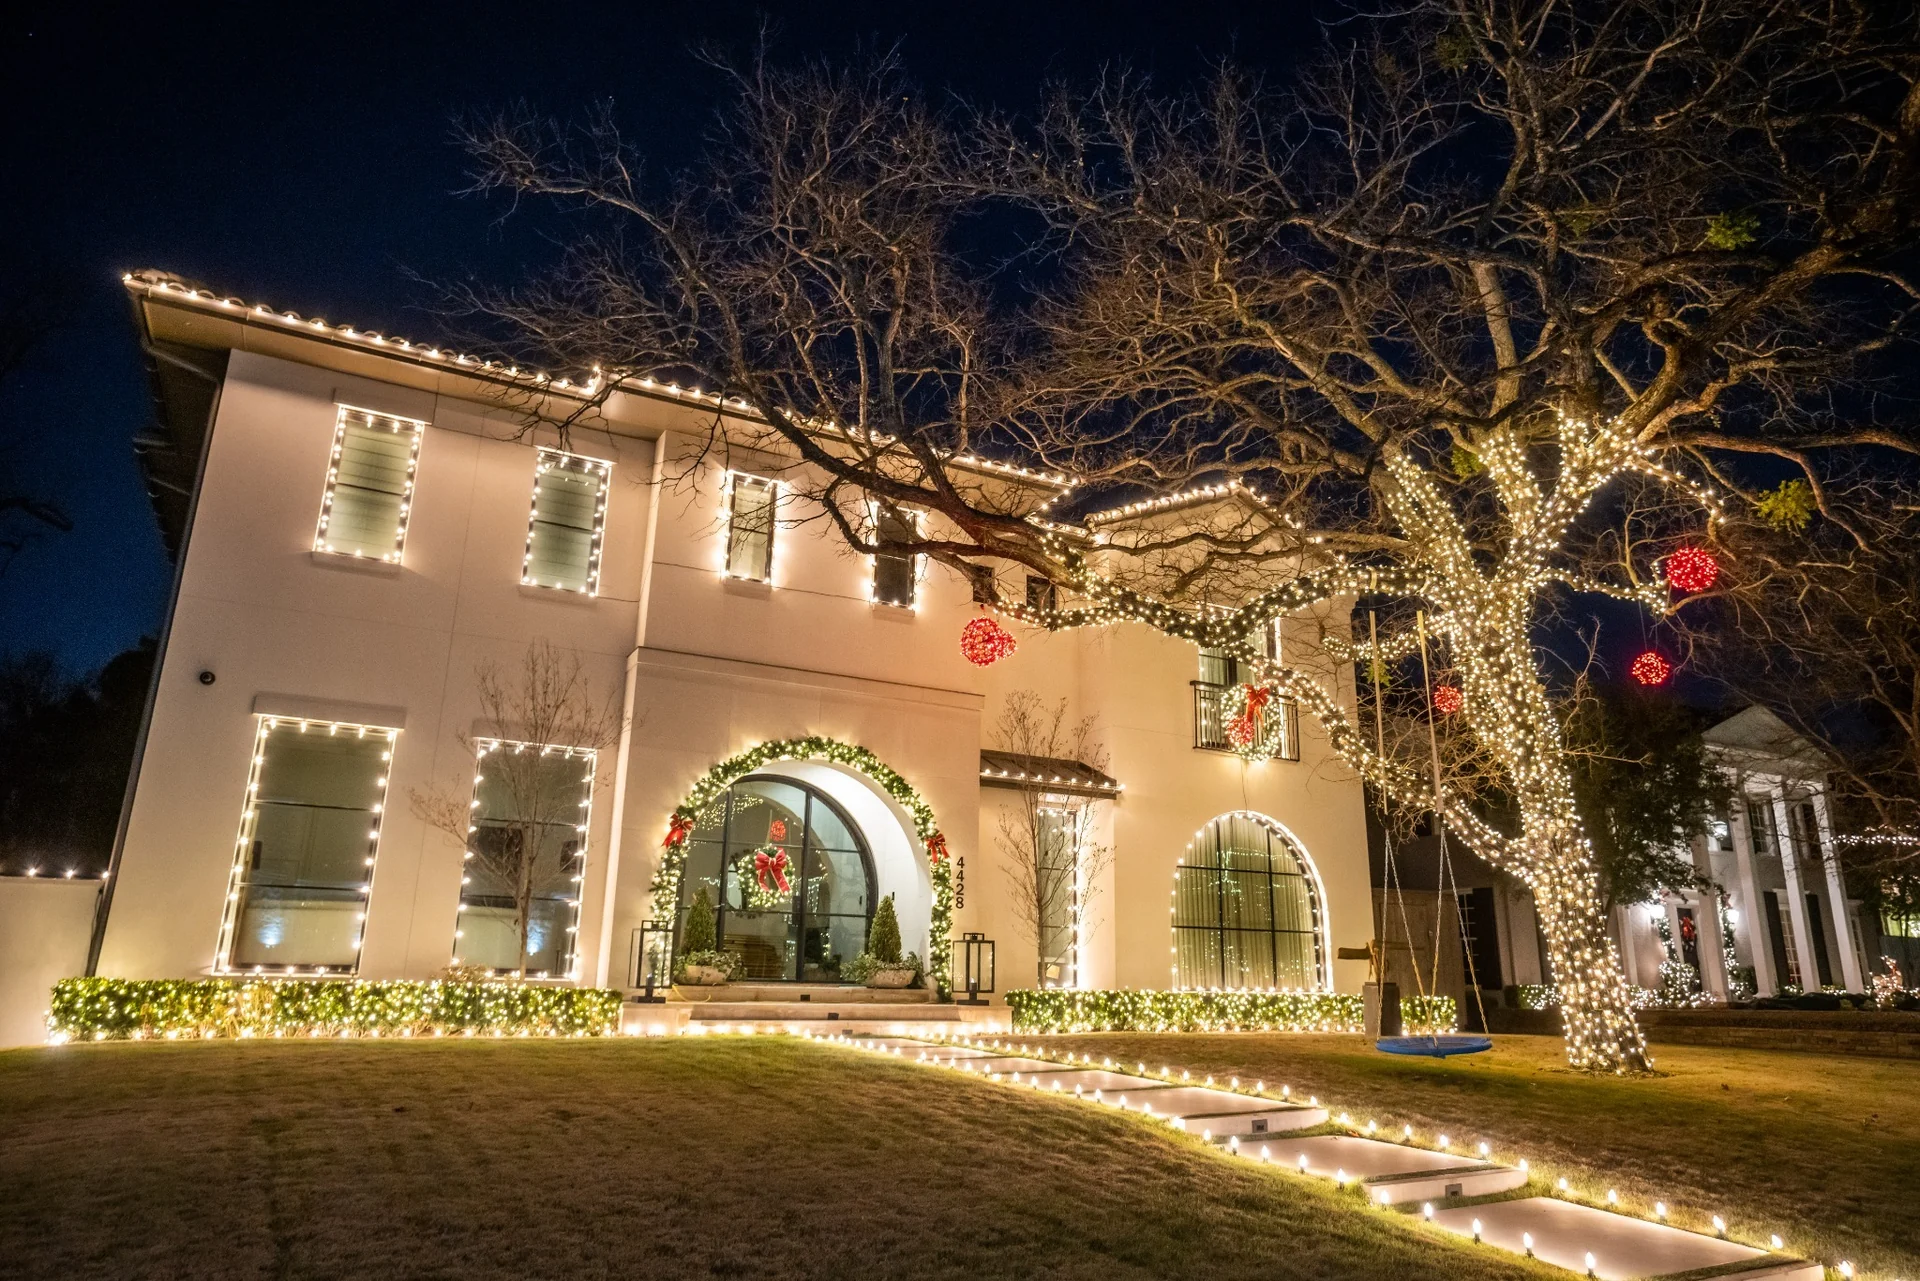

A polished roofline depends on the right light line, even spacing, and secure outdoor-rated connections; for a balanced look, space bulbs 9 to 15 inches apart, use clips made for gutters, shingles, or eaves, and shape each run to follow your home’s architectural lines. Learning how to light rooflines for Christmas means planning for each peak and corner rather than forcing one standard pattern across the entire roof.
The layout and connection plan shape both the finished look and the installation process. This guide covers choosing lights, preparing runs, planning power connections, and creating a cohesive design for your home or property.
Key Takeaways
- Choose outdoor-rated lights that suit your roofline’s shape and the look you want to create.
- Plan each run by measuring the roof edge and preparing the lights before installation.
- Map power connections carefully to avoid overloaded outlets and excess extension cords.
- Use consistent bulb spacing to create a balanced outline across peaks, corners, and eaves.
What Lights Should You Use for a Roof Line?
For a clean roofline, choose outdoor-rated lights and cords, then secure each run with clips made for gutters, shingles, or eaves. Review HOA rules and local permitting requirements before installation, since requirements vary. Measure each roof edge, gutter, and pathway, then plan bulb spacing and clip placement for each run.
- Choose a line that fits the architecture. Empty-socket light line is commonly used for perimeter rooflines instead of preassembled stringer sets. Bulb spacing options range from 4 to 36 inches, allowing a closer or more open pattern. C7 and C9 bulbs create a clear outline; choose one size and keep it consistent across connected roof sections.
- Measure and map each section. Record the length of every straight edge, peak, and corner separately. For a balanced display, plan bulbs 9 to 15 inches apart. Divide each measured run by your chosen spacing to estimate bulb quantity, then add the separate runs. Count clips according to the attachment points along the line, including corners and transitions.
- Gather outdoor-rated connections. Set out compatible power cords, plugs, extension cords, and a timer before installation. Check each cord and plug for visible wear, and use outdoor-rated equipment for exterior runs. Start near an outlet when practical to reduce extension-cord length. Keep connections arranged so cords do not pull against the light line.
- Choose the control approach. A timer can switch lights off while you’re away or asleep. Otherwise, turn them off or unplug them before leaving home or going to bed. If choosing cascading micro LED lights, note that they have four lighting modes. Match the mode to the intended effect before placing the strand.
- Set up ladder equipment. Place the ladder on even ground and gather the roofline clips before climbing. Use clips made for the specific edge, whether it’s a gutter, shingle, or eave. Avoid stapling or nailing through light wires, which can damage insulation.
Preparing the light line before installation
Prepare each strand before taking it up to the roof. Testing the lights, keeping spacing consistent, and attaching them carefully help create a neat, even line.
-
Test Lights and Prepare the Light Line
Lay out each strand and plug it in before installation. Check for dark sections, loose bulbs, damaged wires, or a blown plug fuse. Replace burnt-out bulbs promptly, and unplug the strand before inspecting a section that goes dark. At peaks and corners, allow a gentle bend instead of pulling the light line tight. This lets it follow the roof’s shape without straining the strand.
-
Plan Even Spacing Along the Roofline
Choose a spacing pattern before attaching clips. For an even look, place roofline lights 9 to 15 inches apart, depending on the desired density. Keep the chosen interval consistent across straight edges and continue it around corners. If one run ends awkwardly, adjust the layout across that whole section instead of crowding bulbs at the end. This keeps the visual rhythm deliberate from eave to peak.
-
Use Safety Tips and Installation Techniques
Set ladders on even ground, and avoid working from a steep roofline if you’re uncomfortable on ladders. A professional installation can handle elevated sections; roofline lighting installation is a practical option when access feels difficult. Attach strands with clips made for gutters, shingles, or eaves. Don’t staple or nail through wires, since punctures can damage insulation and increase fire risk. Avoid pulling the line taut at peaks. Instead, let it follow each angle with a controlled, gentle curve.
Connecting power and additional light runs
A clear power route is essential to how to light rooflines for Christmas safely and neatly. Map the power source, strands, and connections before hanging lights, then divide the roofline into manageable runs.
- Start near the power source. Begin installation near an outlet or solar panel location. This can reduce extension-cord use across the roofline. Sketch the route from that point, noting where each run begins and ends. Mark peaks, corners, and separate roof sections so the planned connections follow the building rather than crossing the display.
- Keep each line within its limits. A single Christmas light line should not exceed 250 feet or 200 bulbs. Count bulbs and measure the full connected run before adding another strand. If either limit would be exceeded, divide the design into separate lines instead of extending one line farther.
- Follow the strand’s connection instructions. Limits vary by light type. Cascading Micro LED Lights can connect with up to five other light strings. Treat that as a specific limit for this strand type, not a general rule for every set. Count connected strings before plugging in the run.
- Prevent overloaded connections. Don’t overload outlets or connect more strands than their instructions recommend. When planning how to light rooflines for Christmas, split a long edge into separate runs if one chain would exceed its limits. Keep the layout clear enough to identify each plug and its matching section during setup or troubleshooting.
- Use extension cords deliberately. Once the route is mapped, add only the cords needed to reach each planned run. Outdoor installations call for lights and cords rated for outdoor use. Keep the path orderly, avoid stretching cords tightly between the source and roofline, and don’t add extra strands just to fill a gap.
- Test each run before final placement. Connect and inspect one planned line at a time, following its product instructions. If a section stays dark or flickers, unplug it before examining connections. Confirm the strand count and line length before reconnecting, then test the complete layout from its intended power source.
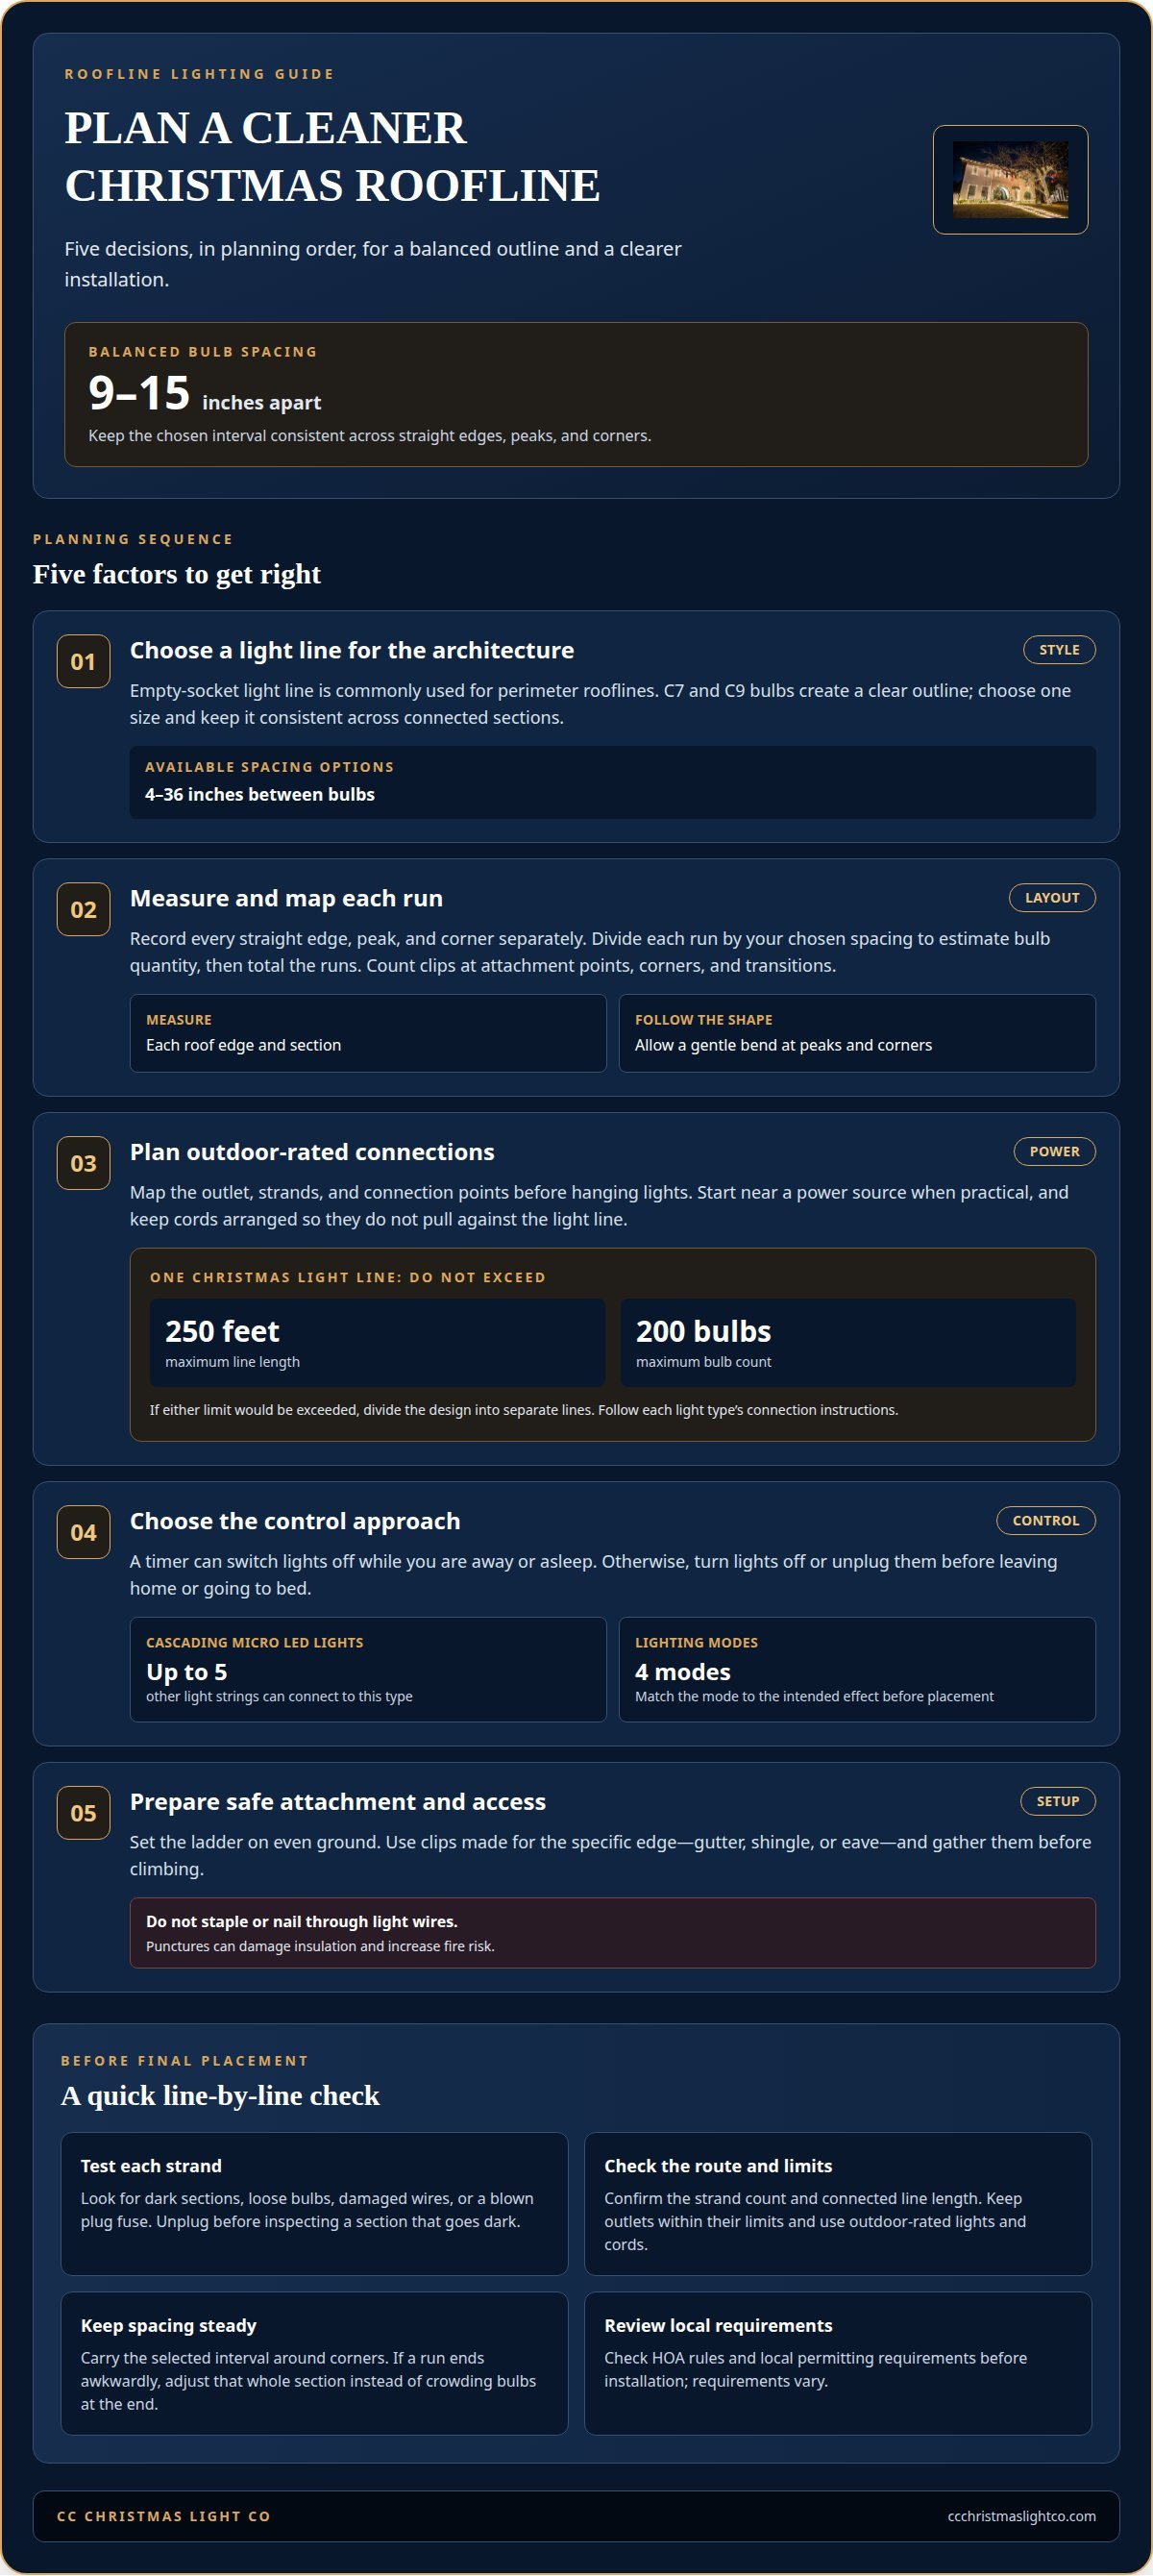
How many Christmas lights do I need for my roofline?
Estimate the bulb count using the measured roof edges and your chosen spacing. Count each section separately to account for peaks, corners, and separate runs.
- Measure each section along its path. Record straight eaves, gables, and other edges as separate lengths. Follow the route where the light line will sit, rather than measuring across the roof. Add the section lengths for the total run, but keep individual measurements handy for placing bulbs and dividing the layout.
- Choose a spacing within the recommended range. Roofline Christmas lights spaced 9 to 15 inches apart can create an even appearance. Select one interval for the main roof edge, then apply it consistently across matching sections. Closer spacing creates a denser line; wider spacing gives each bulb more room along the architecture.
- Estimate bulbs for each run. Convert a section’s length to inches, then divide by the chosen spacing. For example, a 20-foot section is 240 inches. At 12-inch intervals, plan about 20 spaces, with bulb placement at both ends. Treat this as a layout estimate, then adjust the endpoints to keep spacing visually balanced.
- Add sections without losing the pattern. Repeat the calculation for every separate eave or peak, then total the estimates. A 20-foot eave and a separate 10-foot gable should be planned independently before combining their counts. This avoids carrying a leftover interval from one edge into another and crowding a corner.
- Plan clips and line breaks alongside bulbs. Match clips to the attachment points along each run, including transitions and corners. The exact clip count depends on the clip placement and roofline shape. Also divide long layouts into lines that stay within the 250-foot or 200-bulb maximum for a single line. This keeps the bulb estimate connected to a workable installation plan.
CC Christmas Light Co: Residential Christmas Light Installation
CC Christmas Light Co provides residential Christmas light installation for homeowners who want a tailored roofline without managing every installation detail. The design can follow your home’s peaks, eaves, and proportions rather than forcing a standard outline onto the structure.
A managed seasonal display can include design, installation, maintenance, removal, and storage. The service covers more than hanging lights: the team plans the finished layout and the practical work that follows installation. Commercial property managers and community associations can also use CC Christmas Light Co for commercial or HOA Christmas light installation.
If you’d rather have a professionally planned roofline than handle ladders, connections, and seasonal removal yourself, contact CC Christmas Light Co to discuss your lighting design.
Shape a roofline that suits your property
Let the architecture guide your design. A thoughtful plan for how to light rooflines for Christmas might trace the main eaves, emphasize a prominent peak, or create a continuous outline. Choose an approach based on the features you want to highlight and how the display should complement the rest of the exterior.
CC Christmas Light Co offers Residential Christmas Light Installation and Outdoor Christmas Light Installation for homes, along with Commercial Christmas Light Installation for business properties. Its team brings practical holiday-lighting experience to decisions about placement and presentation, helping the design feel intentional rather than disconnected from the building.
You don’t need to settle on every detail before taking the next step. Share what you want the property to feel like, and start a conversation about a roofline design that fits. Contact CC Christmas Light Co to discuss your project and move toward a season-ready exterior.
Frequently Asked Questions
What are the Benefits of Roofline Lighting?
Roofline lighting defines a building’s silhouette after dark and creates a seasonal focal point. A restrained, consistent outline can complement the structure without covering its façade. For example, highlighting a front gable can draw attention to the entrance while keeping windows and architectural details clear. The result is a more considered exterior, whether the property is a home or commercial building.
What type of Christmas lights are best for rooflines: C7, C9, or LED mini lights?
C7 and C9 bulbs suit a clearly defined roof edge, while LED mini lights create a finer, less prominent line. Choose based on the building’s scale and the visual effect you want. A large façade can carry a more noticeable bulb profile; a smaller home may call for a subtler outline. Keep the chosen bulb style and color consistent across connected sections for a composed finish.
What clips work best for different roof edges, gutters, shingles, and tile roofs?
Match each clip to its surface: use gutter clips on gutters, shingle clips at shingle edges, and eave clips where the roof edge allows. On tile roofs, choose clips designed to hold the light line without forcing or shifting tiles. Avoid improvised fasteners that pierce surfaces or pinch wires. Clips should secure the strand without disturbing the roof.
How do I safely install Christmas lights on a roofline step by step?
Test the lights at ground level, map the roof sections, and prepare the right clips before setting up a ladder. Place the ladder on even ground, then attach the strand along the intended roof edge without stretching it tight. Work one manageable section at a time, following the roof’s angles. If the roof is steep or ladder work feels unsafe, leave the elevated installation to professionals.
What ladder and electrical safety precautions should I follow when hanging roofline lights?
Set the ladder on even ground, and don’t climb if the roofline or your position feels unsafe. Use outdoor-rated lights and cords, and keep wires intact rather than stapling or nailing through them. Turn lights off or unplug them before leaving home or going to bed, or use a timer. Unplug any dark or flickering strand before inspecting its bulbs or plug fuse.
How many lights can I connect end to end, and how do I avoid overloading a circuit?
The connection limit depends on the light type and its instructions. Cascading Micro LED Lights can connect with up to five other light strings, but that limit shouldn’t be applied to different strands. For a single light line, stay within 250 feet and 200 bulbs. Don’t overload outlets; split a long roofline into separate runs when needed, and follow the product’s connection guidance.

